

There’s always a chance that, when playing Truth or Dare, things are going to get intense. Don’t let yourself—or your lips—crack under the pressure! This multitasking DIY keeps your mouth smooth, calm, and collected—even under bated breath—while also supplying you with fantubestic (sorry) ideas about what to ask on your next turn.

What you’ll need:
- A kitchen scale
- 14 grams of coconut oil
- 7 grams of avocado oil
- 7 grams of mango butter
- 14 grams of macadamia oil
- 12 grams of candelilla wax
- A microwave-safe glass bowl/dish
- A toothpick
- A pipette
- Lip balm tubes
- Strips of paper cut to match the height of the lip balm tubes (one strip per tube)
- Tape and/or stickers
- Essential oil (Optional, if you want your balm to have a nice scent—just make sure it’s safe to use on skin!)
- The non-toxic crayon color of your choice (Also optional, depending on whether you’d like your balm to have a Crayola-hued tint.)
How to do it:
Step One
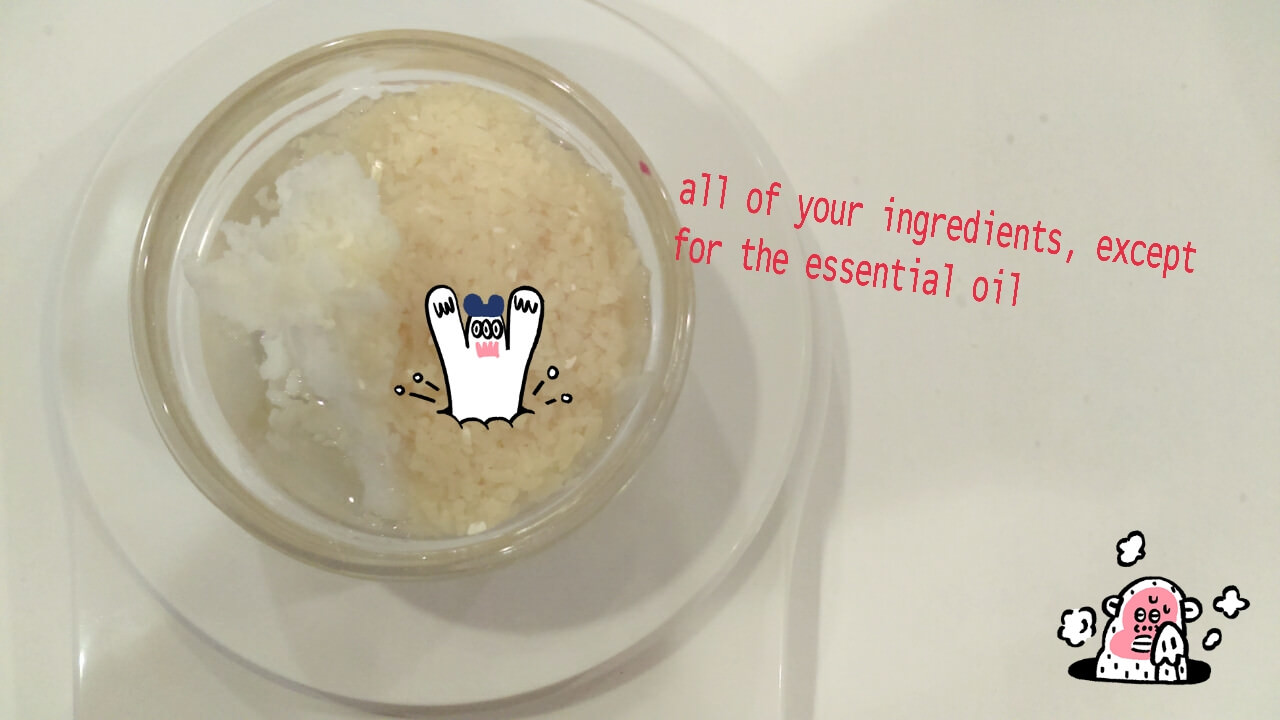
Measure out all of your ingredients (coconut oil, avocado oil, mango butter, macadamia oil, and candelilla wax) except for the essential oil (if you decide to use it) and place them in the microwave-safe dish. This gooey mix might be a bit unsettling for those of you who don’t like your foods to intermingle, but it will all be over soon. As tempting as it may be to speed things up, do not add essential oil just yet!
Step Two

If you’d like your balm to have a bit of color: Hold a non-toxic crayon under water for a few seconds so that the paper wrapping gets damp. Peel the paper off. I wanted my balms to be just a teeny bit orange, so I used half of an orange crayon. Go whole crayon if your goal is to have balms with a more intense shade.
Step Three
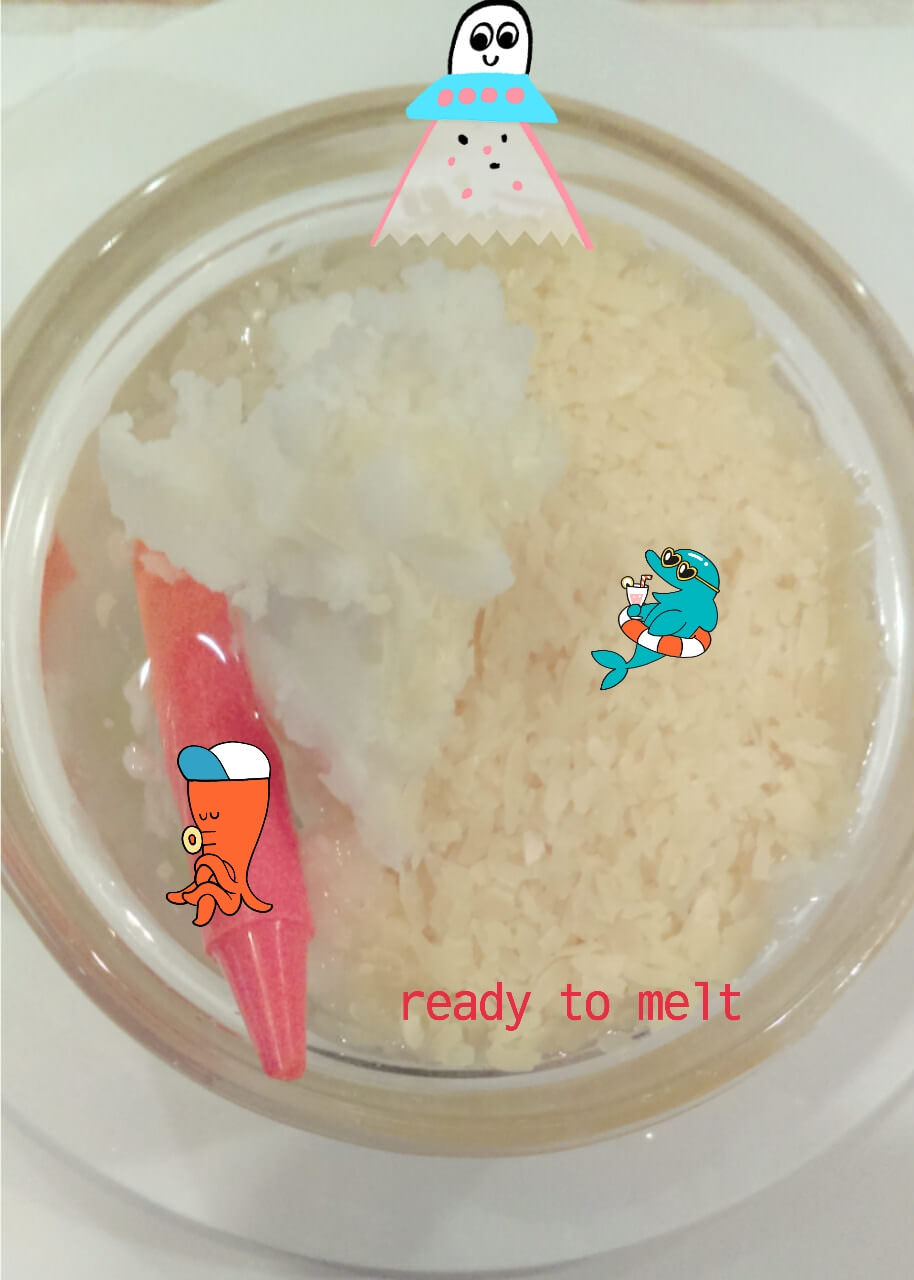
Add the crayon to the blob-y pool of ingredients. You’re ready to melt!
Step Four

Put your mixture in the microwave and melt in 30-second increments.

This is after one 30-second round in the microwave. Close, but no cigar. Stuff is dissolving, but it’s not enough—back to the heat box with you!
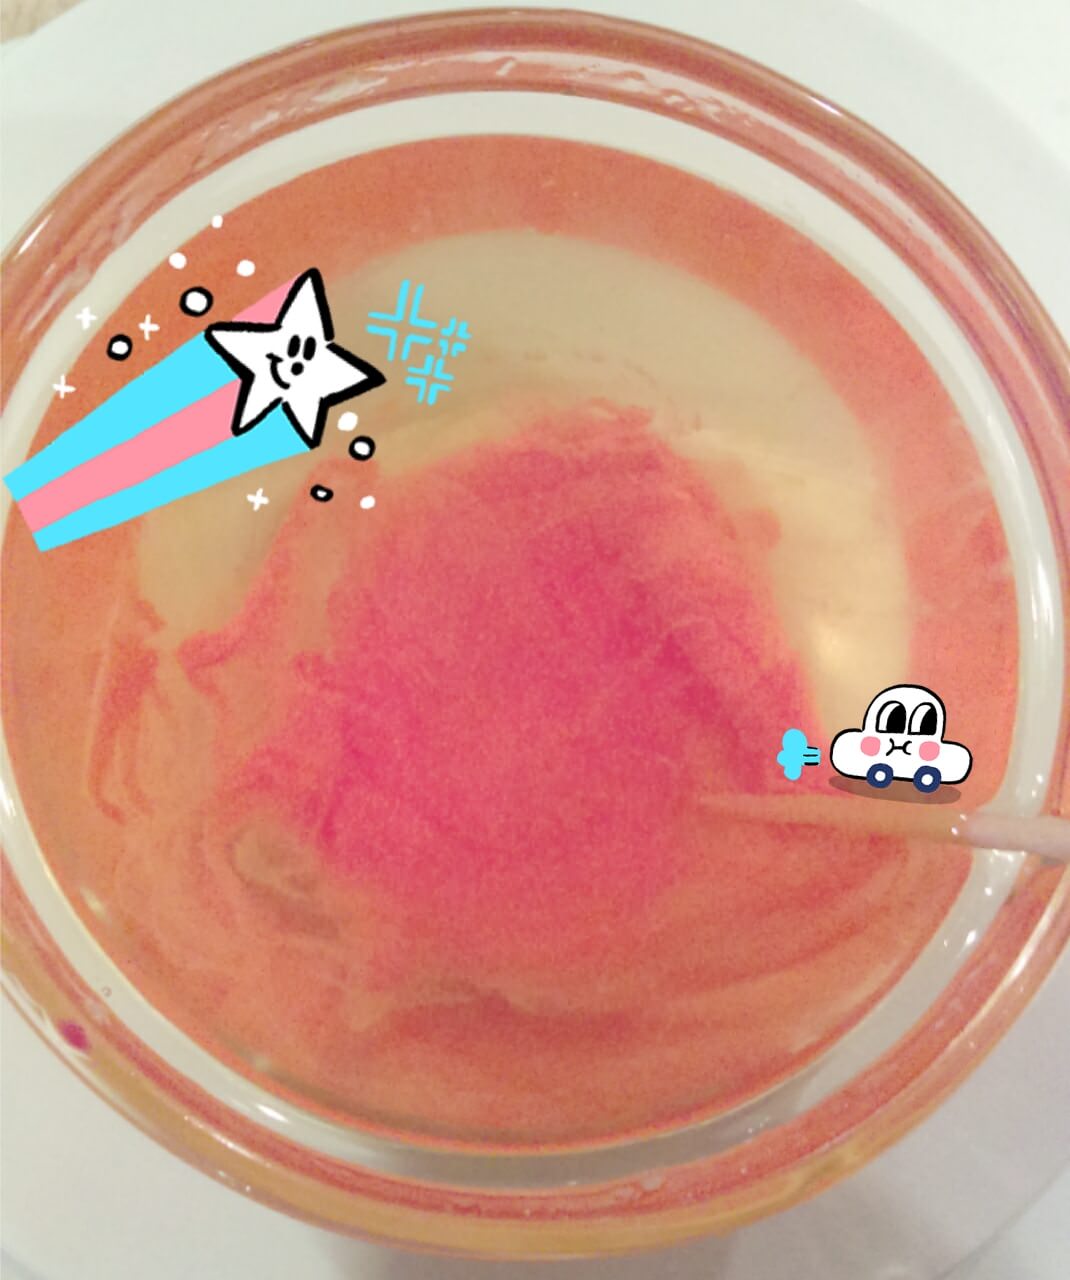
AHA! After another 30 seconds, all of the solids have been liquified. The crayon isn’t completely melted, but that’s A-OK. The heat that is still circulating in the dish will finish the job on any little remaining chunks. Stir the mixture around with a toothpick because it is small, doesn’t require cleaning, and won’t toy with the temperature of the mixture. From experience, using metal utensils (cold when at room temperature) in a hot mixture will cause melted balm to coagulate quicker than you’re ready for.
Step Five
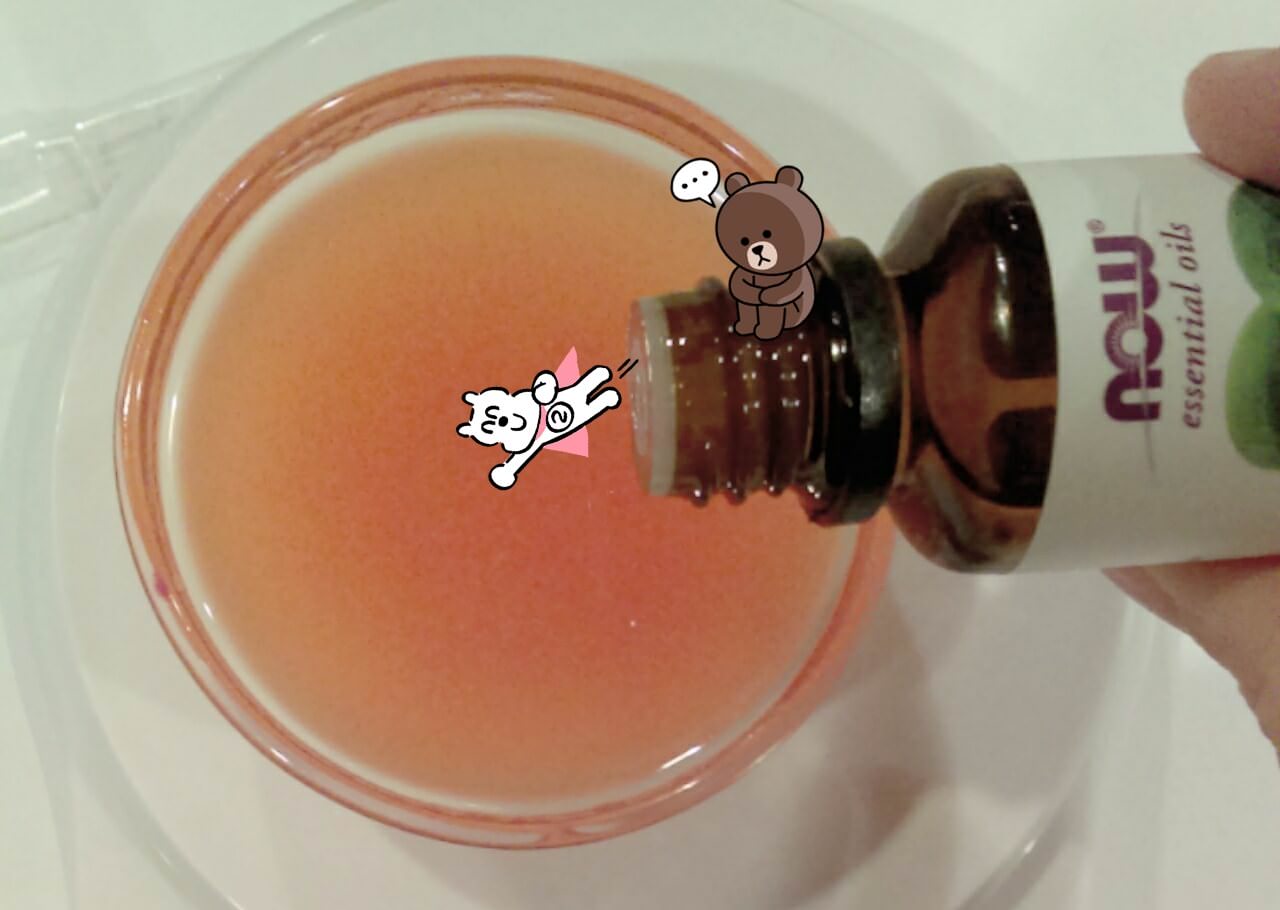
Time to act fast. Grab your essential oil(s) and add the desired amount of drops. With a toothpick (I used the same one I did before), briefly stir the essential oil into the mix. Do this quicker than not because your balm might harden right there, IN FRONT OF YOUR EYES, if you let it get all comfy and cold.
Step Six

OMG, I love this part. ARE YOU READY? Go forth and snatch your pipette, as well as one of your lip balm tubes. I assume you know how to operate a pipette; if not, here ya go. Suck up a heaping pipette-sip of liquid balm and feed it into the empty lip balm tube. Satisfying, is it not? Continue until you have reached the top of the tube. But don’t be mistaken—we do not stop at the top. Suck up a bit more liquid in the pipette and add drops to the top of the tube until the balm has a nice little dome-head. Because of, like, gravity, you can’t add too much, or else the tube will begin to cry little colorful lip balm tears down its side. I’ll be honest here: I have made many a lip balm cry. Not proud of it, but it’s nothing a tissue can’t fix. No, literally.
Step Seven

Time to take a step away from your baby balm to let it cool off and become its balmy self. I took this time to write my truth and my dare…
Step Eight

On one of your tiny slips of paper, write one truth and one dare. Leave a margin on the left side so that your incredibly intellectual truths and dares are still readable after being taped to the tube.
Step Nine

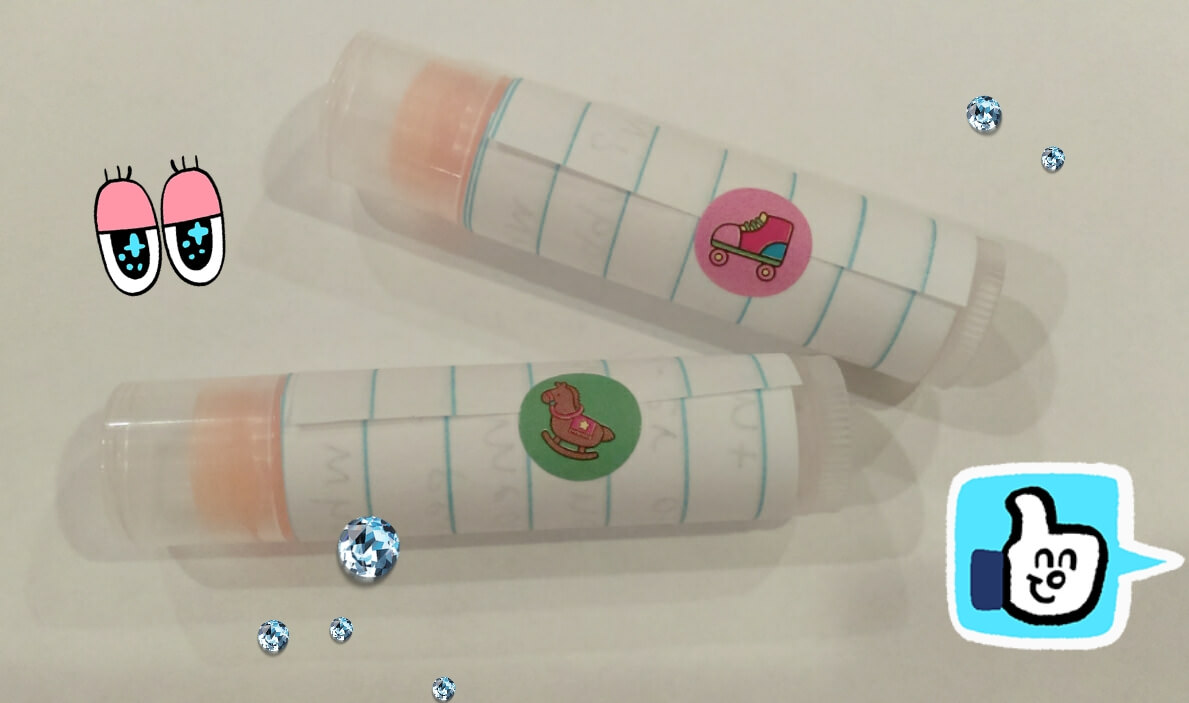
BEFORE you attempt this, be super-duper sure that your balm is solid! You’ll be able to tell when the top is hardened because it will be more opaque and less liquidy-transparent. You can test if the body is solid, too, by looking to see if it is also opaque. When it is, cap it and lay it down. Break off a half-inch piece of tape. Put half of the tape on the paper, in the margin you made. Make super, super-duper sure that your paper fits perfectly on the body of the tube and doesn’t threaten to cover the twisty part at the bottom or the start of the cap. That’s bad news. Once you have achieved perfection, stick the other half of the tape onto the tube. It should look like the picture, above.
Step Ten

Start wrapping the paper slip around the tube. Don’t stop pulling it tightly! You don’t want to end up with a saggy scroll around your lip balm. (We don’t want no saggy scrolls.) But also, don’t rip it. So basically be perfect. Anyways, when your paper is tightly wrapped around the tube, stealthily obtain a sticker and seal the paper against itself, keeping it locked around your balm’s body.

The BEAUTY, the GRACE!!! You’ve done it, my child. 10/10, would balm again! Gift these to your pals or non-pals whose secrets you desperately want to conjure out, with the innocent Trojan-horse facade of a nicely constructed lip balm! ♦