


Glitter really tops off this pom-wonderful look, don’t you think?
I fully support the recent pom-pom earrings trend. They add a colorful, ’60s mod vibe to any outfit, and they don’t have to clean out your entire allowance, either. Here’s how to easily make pom-pom earrings, and for not much loot. (I’m going to show you a different pom-pom making method than Savana used in her keychain DIY last month.) Once you get the hang of it, you can experiment with color combos, and even different shapes!
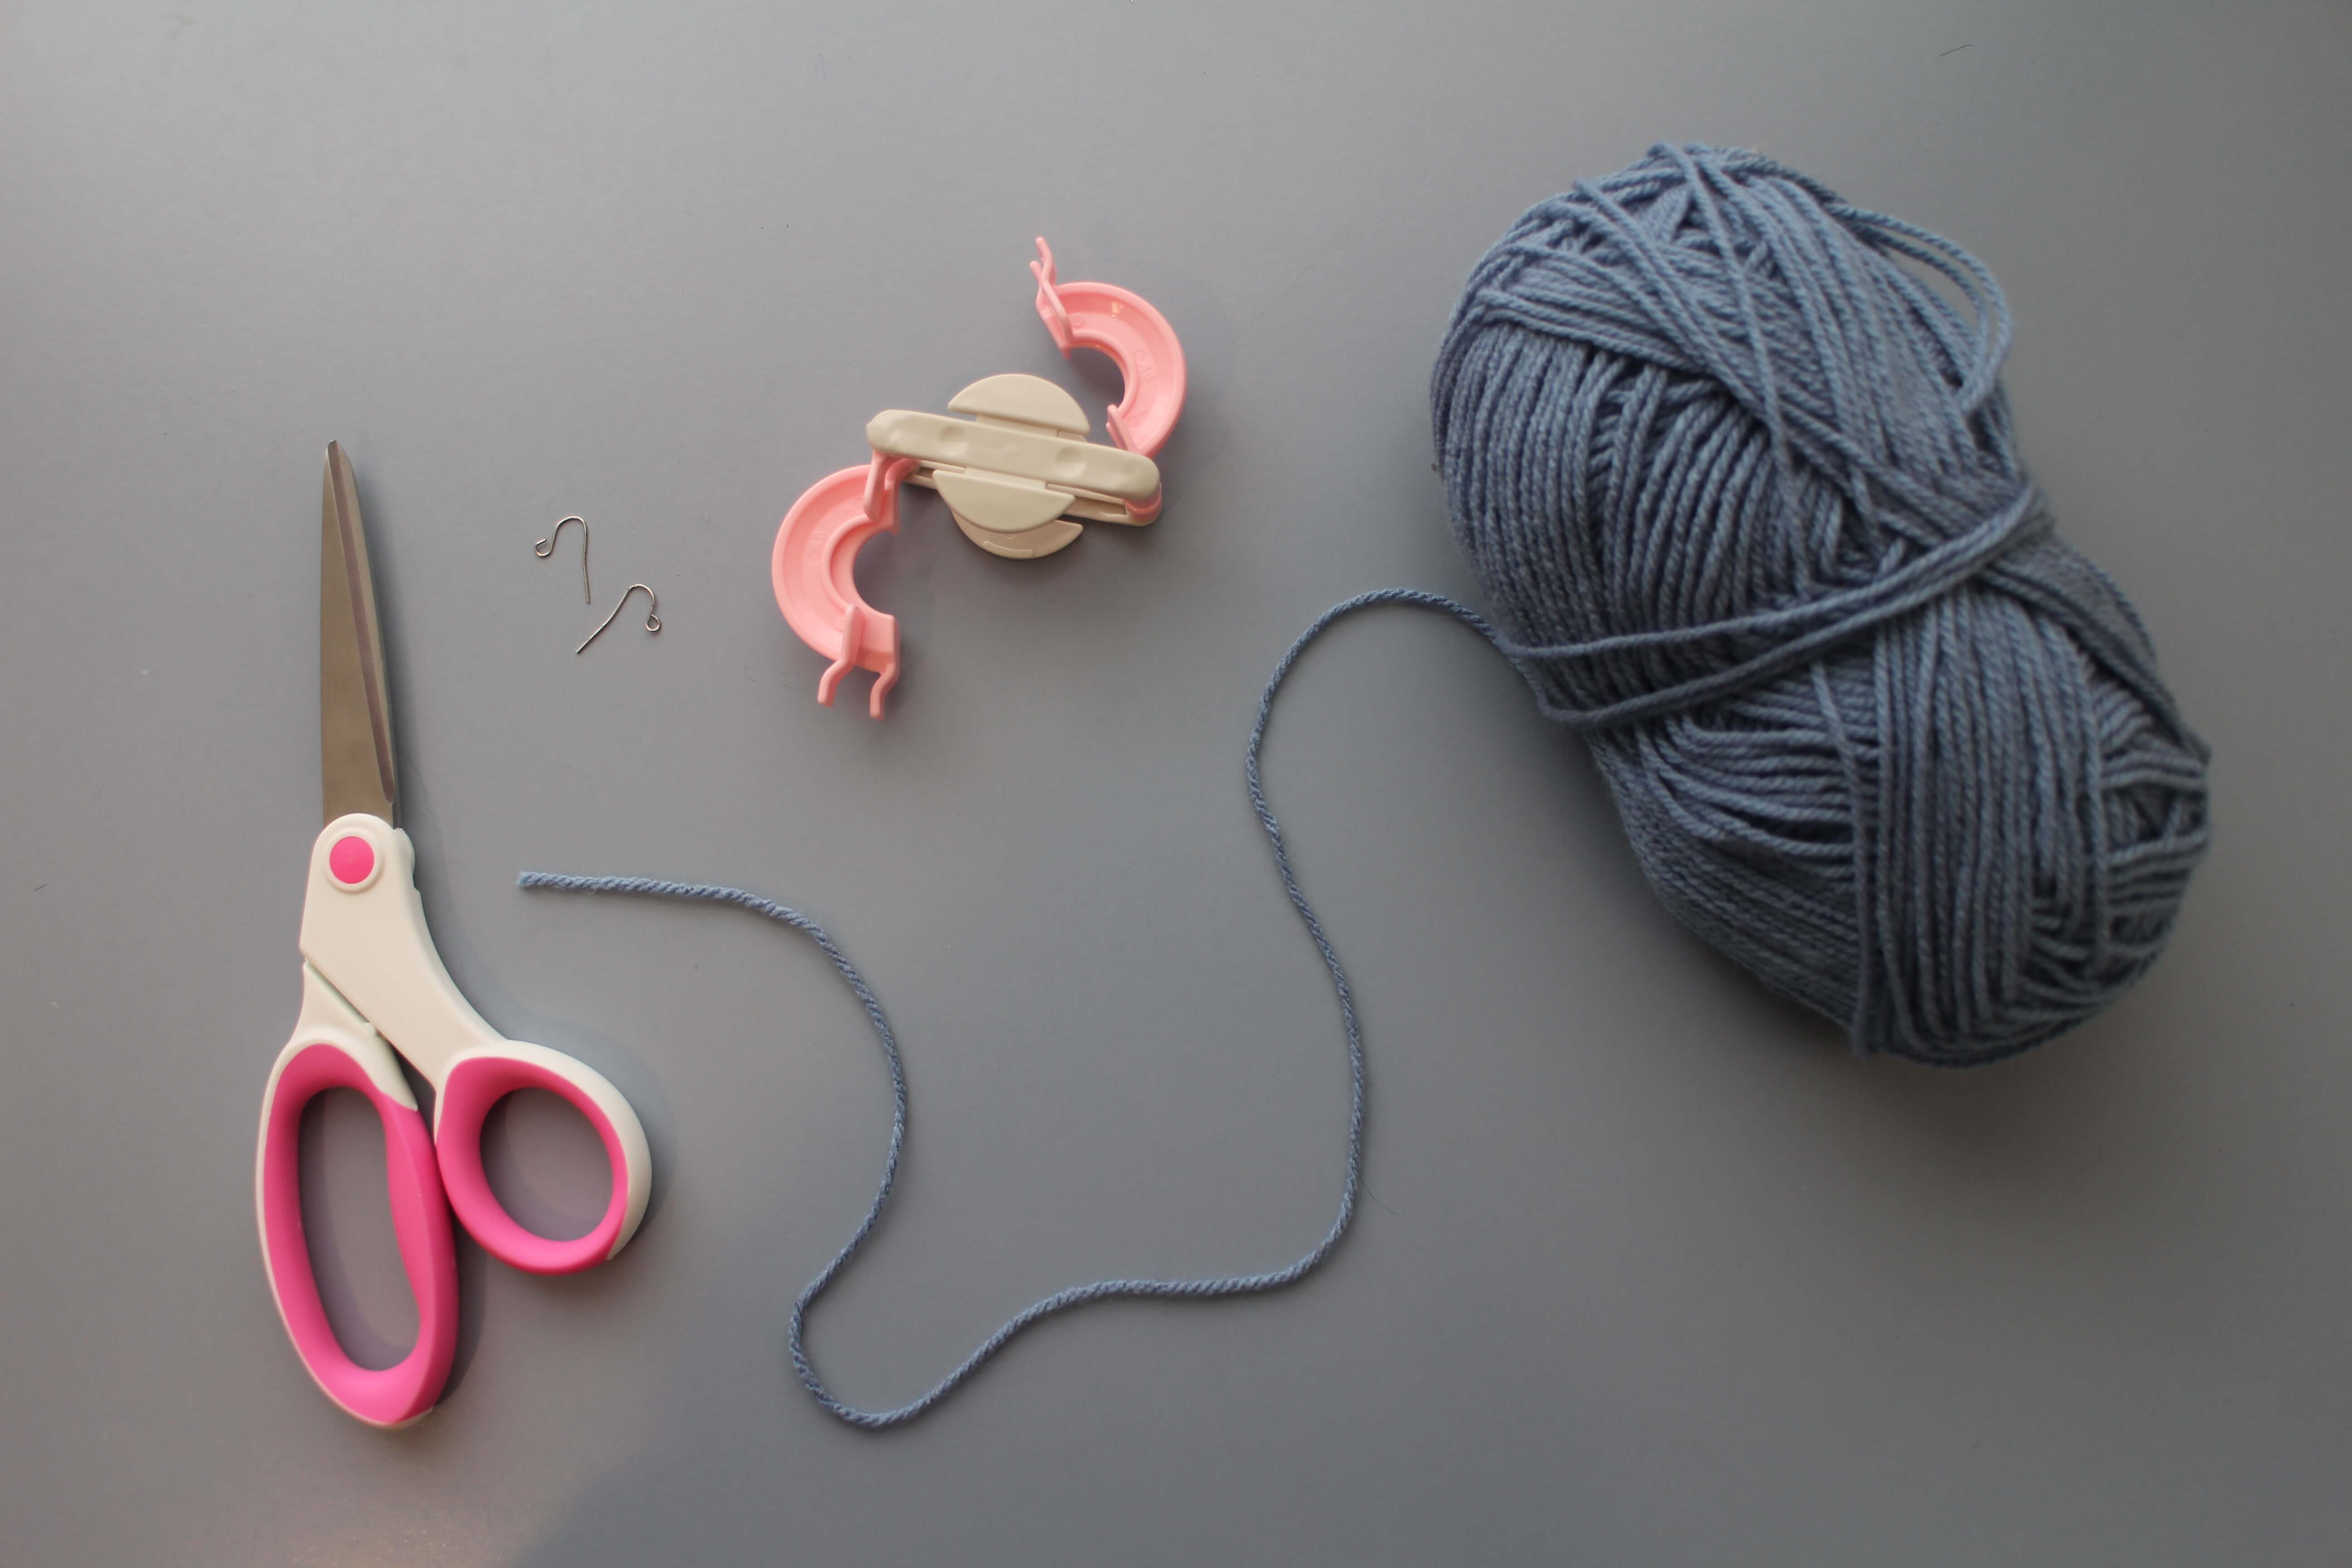
What you’ll need:
- Eight-ply yarn in any color (In the U.S., it also is sold as “light” or “3” weight yarn.)
- Scissors
- A pom-pom maker in the size of your choice
- Two curved earwires
- A ruler or tape measure
How to do it:
Step One

Wrap yarn around one half of the pom-pom maker until the maker is full, then cut the end of the yarn. Repeat on the pom-pom maker’s other half. (Note: The more yarn, the better! Using as much as possible makes for a fluffier pom.) When both halves are packed with yarn, push them together so that the maker becomes a circle.
Step Two

Use scissors to cut through the yarn on both halves. Be sure to not let the maker open back up again!
Step Three

Cut a 13-inch length of yarn and wrap it around the very center of the pom-pom maker. Tie it tight and double knot it!
Step Four

Open both sides of the maker and remove the pom-pom. Use scissors to even out the shape, or to make it messier if you want. Save one “long” strand of yarn (mine was about three inches). This strand will be what connects the pom-pom to the earwire.
Step Five

Thread the long piece of yarn through the hole in the earwire, double knot it, and cut off any excess. Ta-da! You’ve got yourself a pom-pom earring. Repeat Steps One through Four, and it’ll have a puffy little partner. ♦
Katherine Nolan is an artist and creator from Australia.