

Tornadoes, lightning, floods, oh my! Bad weather can be depressing (and even destructive) IRL, but they weather out (heh) amazing inspiration for cool, easy nail art. All you need is a little (OK, a lot of) gray nail polish, a nail dotter or striper, and some stormy vibes flowing through your fingers. Since this is about your own creativity, feel free to use any color scheme you want—who says stormclouds have to be gray? Make it rain cute nail art!
What you’ll need:

- A clear base coat of your choosing—here are some options from Essie.
- Gray nail polish (and an additional darker shade, optional). For my base color, I used Obsessive Compulsive Cosmetics Nail Lacquer: Creme in Dangerous.
- Blue nail polish. Mine is Essie Nail Lacquer in Aruba Blue.
- Yellow nail polish. I used Sally Hansen Hard As Nails Xtreme Wear in Mellow Yellow.
- Black nail polish. I used Sally Hansen Insta-Dri Fast Dry Nail Color in Back to Black and Grease Lightening, but you can stick to one if you don’t mind having your clouds and tornadoes match.
- Clear top coat. I used CND’s Vinylux Weekly Top Coat.
- Nail polish remover (optional)
- Q-tips (optional)
- A nail dotter like this. Pick a size to your preference—I used a smaller one because they’re easier to work with.
- A nail striper. These usually come with an attached polish color (I recommend black), but I just used one from a CND brush set—here are some of their tools.
How to do it:
Step One:
Apply a base coat and let it dry.
Step Two:

Paint your nails a solid gray and let it dry. If needed, clean up the edges with a Q-tip and nail polish remover.
Tip: If you’re not in a hurry, try applying the gray hours or a day before you do the art, because the polish will definitely dry in that time.
Step Three:

Dip the nail dotter into your blue polish. Be careful with the amount of paint on the dotter, as things can get messy if there’s too much. Apply as many blue dots to a finger of your choice. Now you’ve got some rain!
Tip: When painting a specific shape, do it on both hands before moving on to the next shape. That way, you don’t have to clean the dotter a million times.
Step Four:
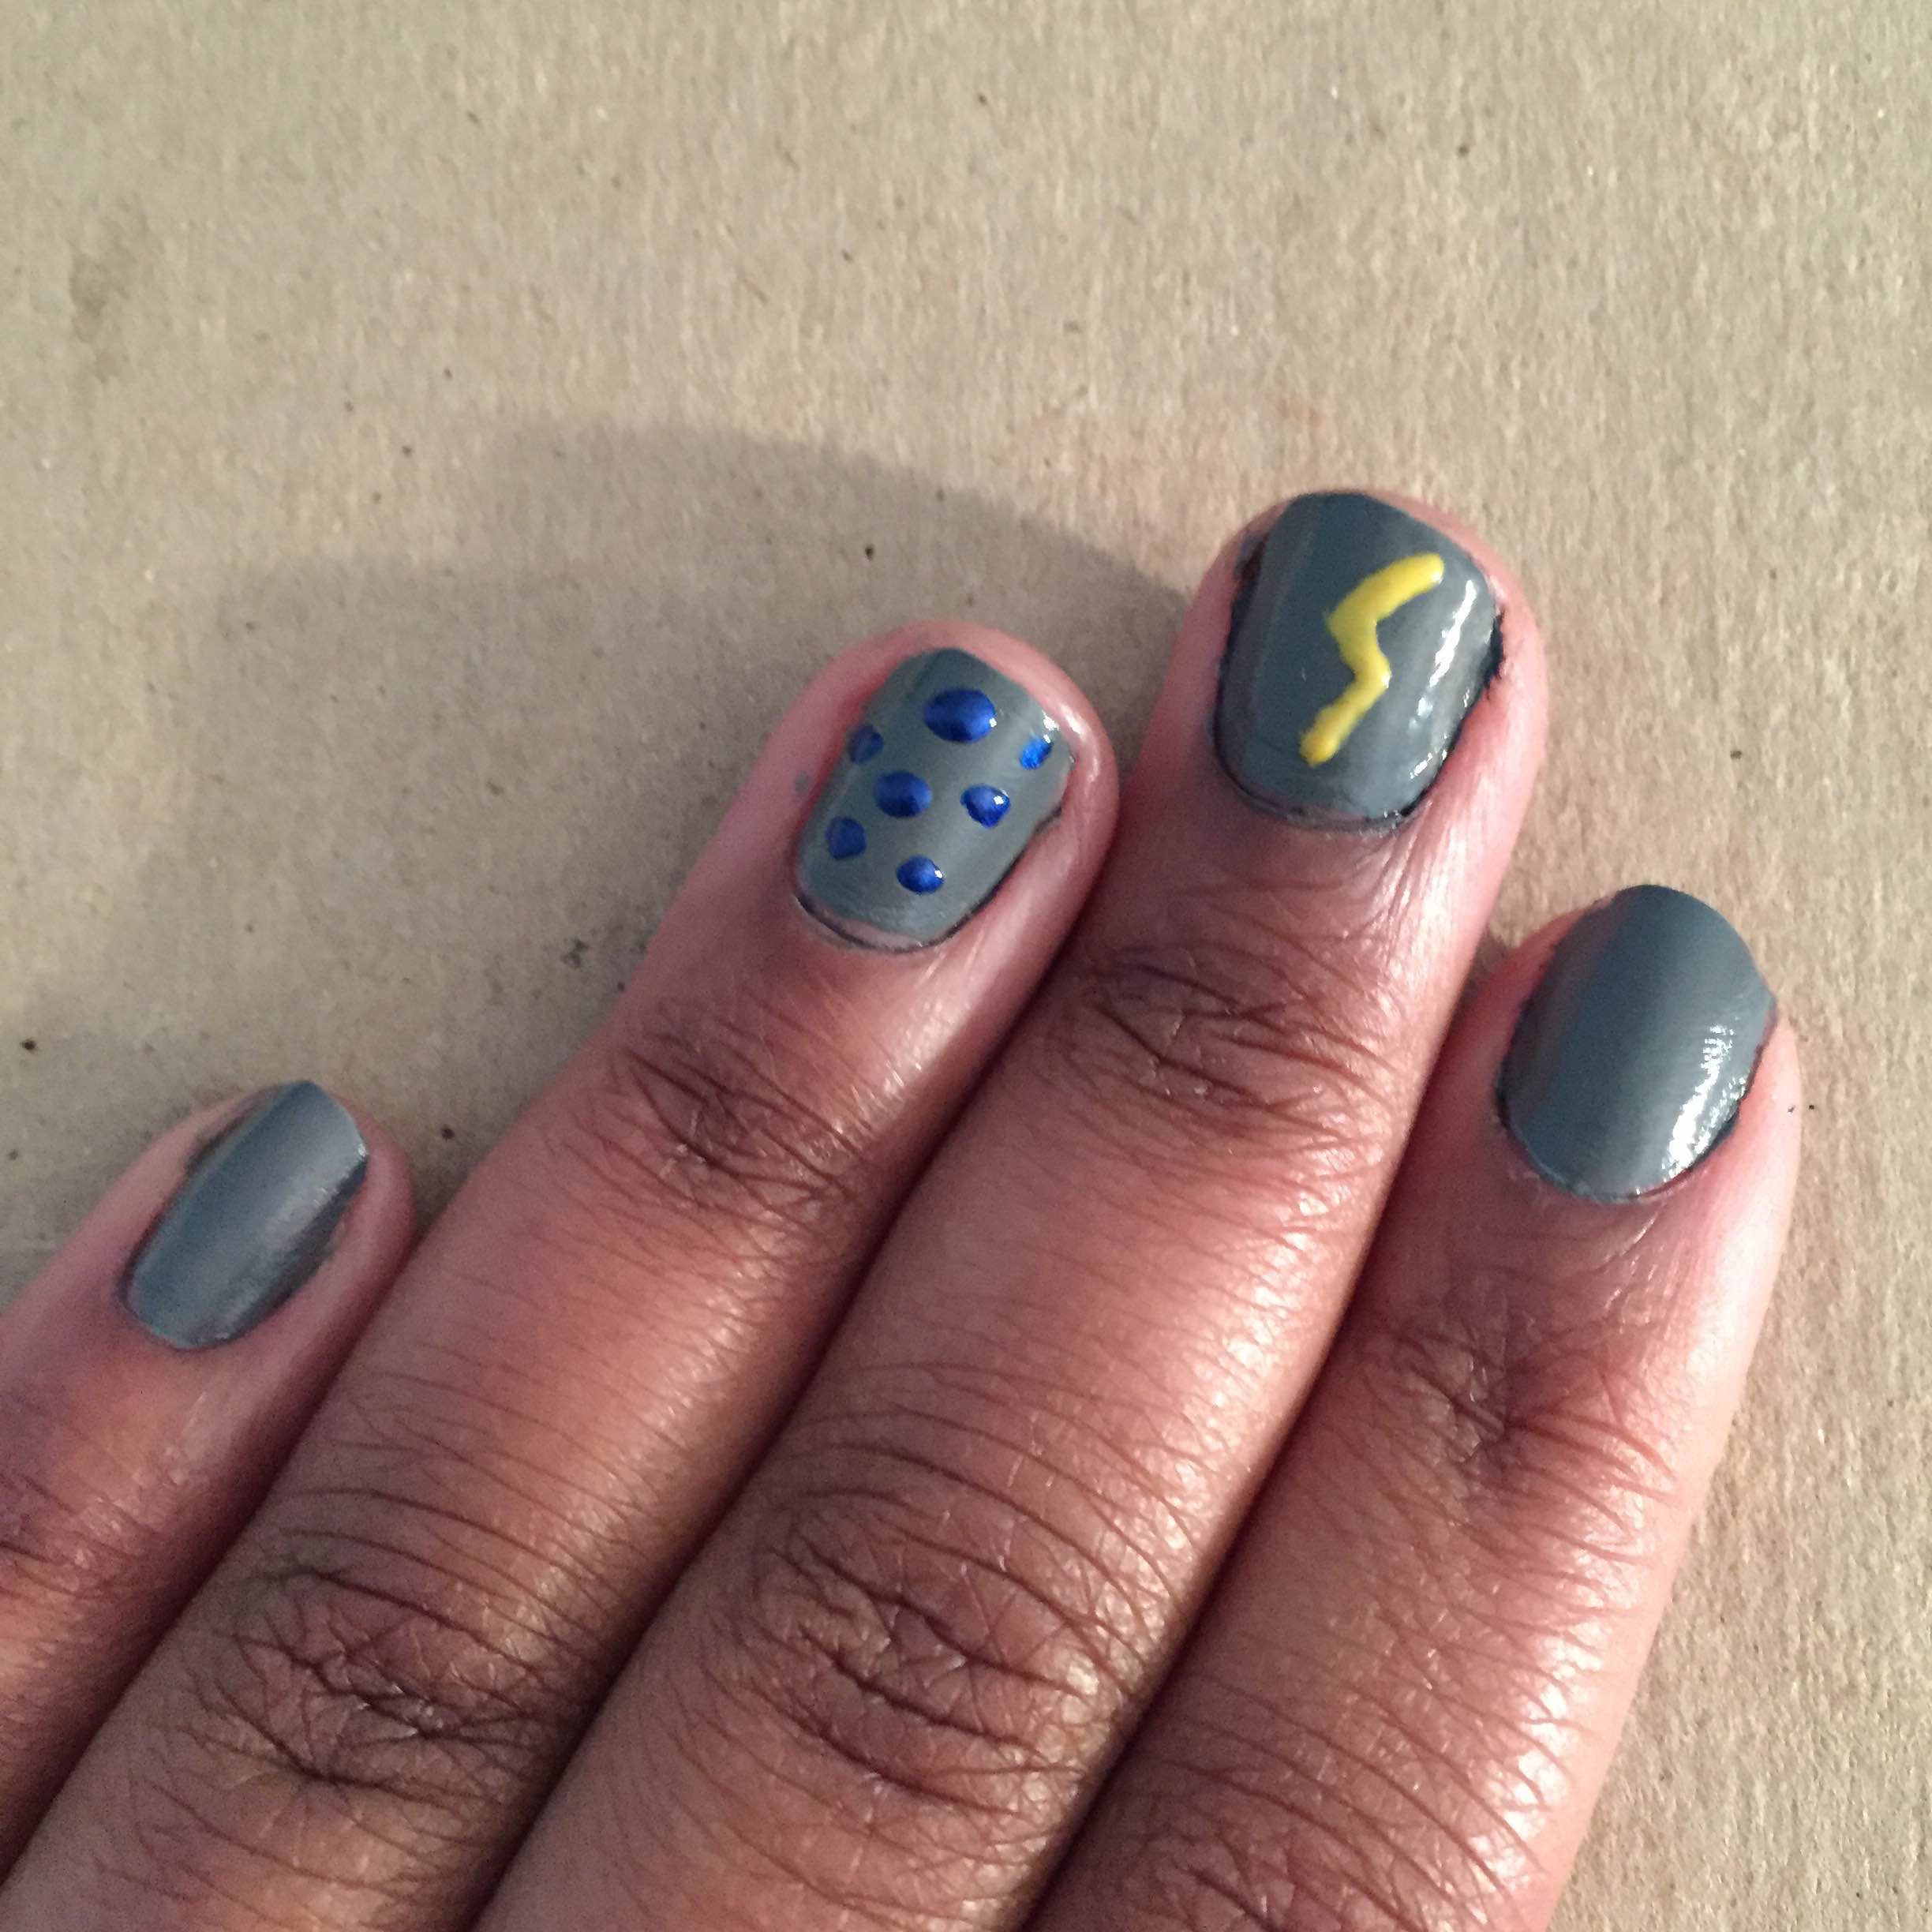
Clean up the dotter by wiping it on a paper towel, then get to work on the yellow polish. Slow and steady wins the beauty race, of course, so when painting the lightning bolt, take your time. I put mine on my middle finger, because then I can truly strike someone down if they cross me wrong ¯\_(ツ)_/¯
Step Five:

Time to get some tornado action going! With a clean dotter, pick up some black polish and start drawing. Start with the bottom of the twister, and slowly work your way up the nail with progressively bigger loops. You can give it a little curve, like it’s truly spiraling through your nail. Eek! I mean, cool!
Step Six:
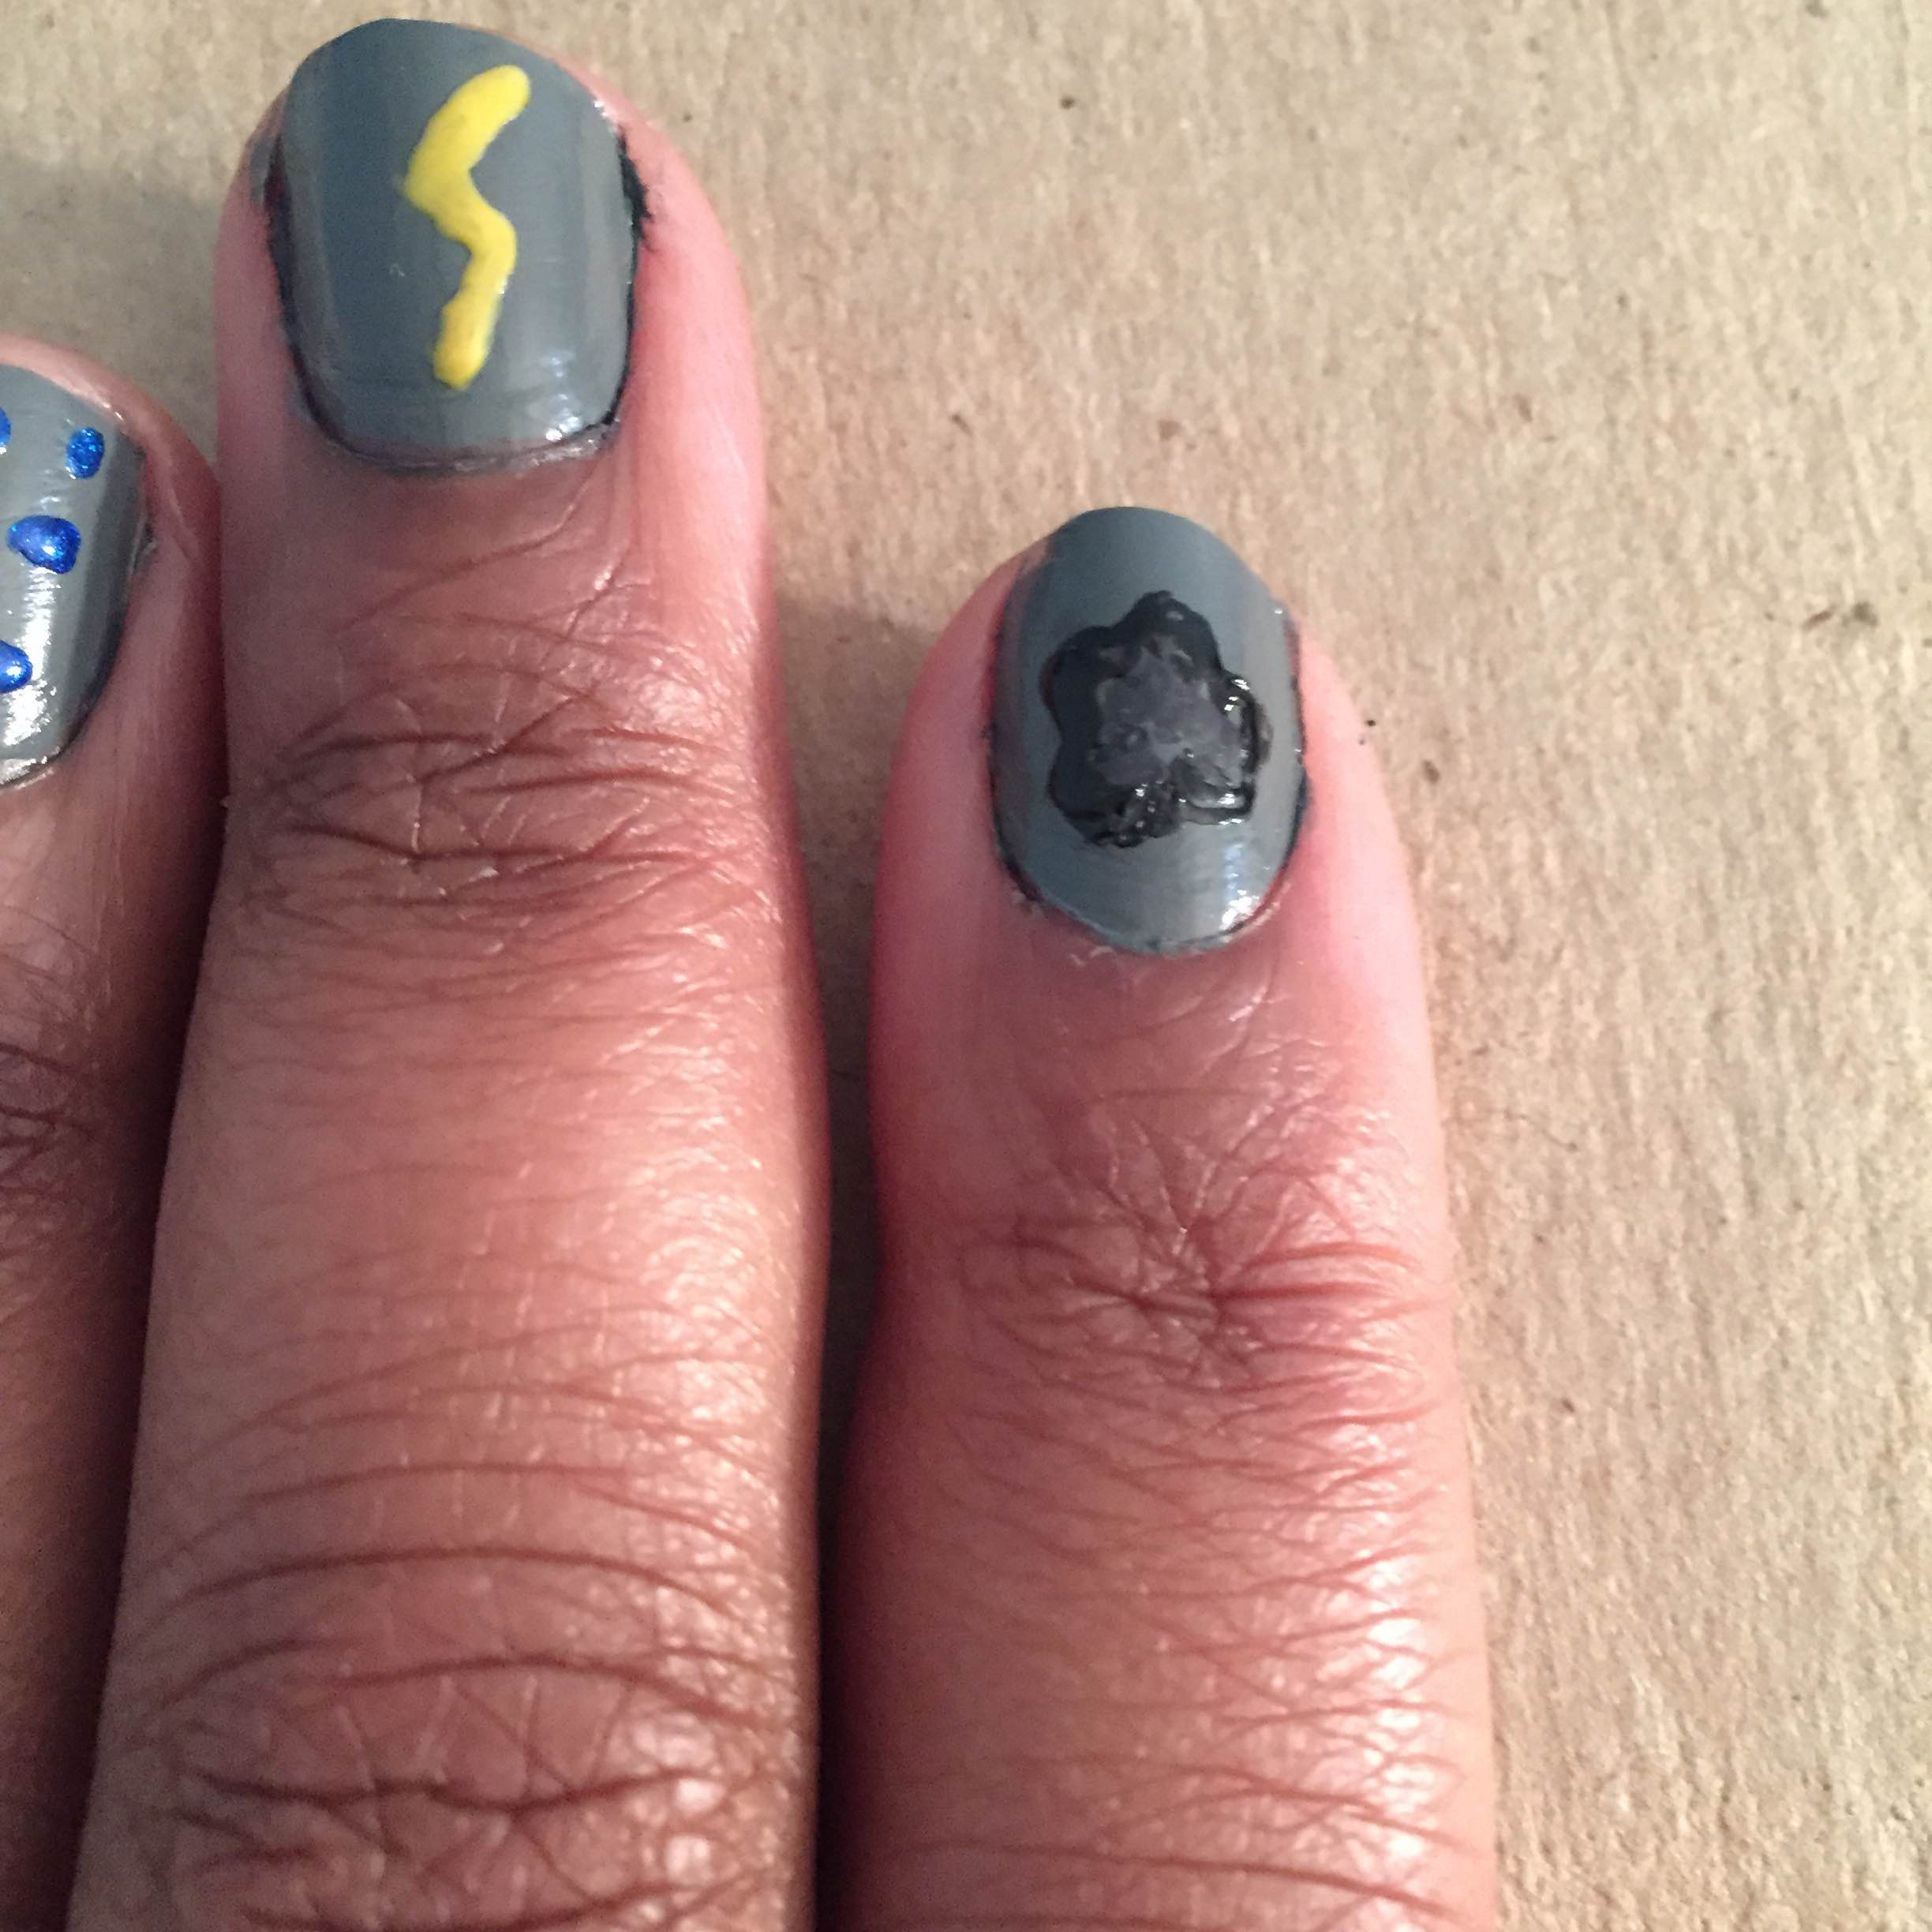
Since I used black for the cloud, I didn’t have to clean the dotter for this step: With the same black lacquer, outline the shape of a cloud, which can literally be any way you imagine a cloud. To give it an appropriately hazy look, I dabbed the Grease Lightning into the black, blending the colors a teeny bit. This muddle the color, but try to maintain the shape, too.
Step Seven:

Finally, get an earthquake crackin’! Since quakes often take on their own shape when literally breaking the earth, just use your imagination for this one. With the nail striper and black nail polish, establish your cracks on any finger. I liked the thumb for this disaster, as thumbnails reminds me of tectonic plates. (I <3 science.) Step Eight:

Make sure all of your shapes are dry, then apply a top coat. Now you can take pleasure in cloudy skies even if it’s sunny out with just a wiggle of your bad-weather mani, stormcloud! ♦