

I craft on an almost nonexistent budget, so I’ve learned to use a little ingenuity when working on projects. Recently, I wanted to make a few badges for my school backpack, but the ones I first considered involved iron-on photo transfers. I tried to use photo transfer paper, but found out it only works with an inkjet printer, which I sorely lack. Hmph! If you have an inkjet printer at your disposal, make as many photo transfer badges as you want, because you won’t need my help on this one! But for those of you who don’t, never fear! Here’s another method you can use that is far cheaper than a new printer, and works just as well.
What you’ll need:
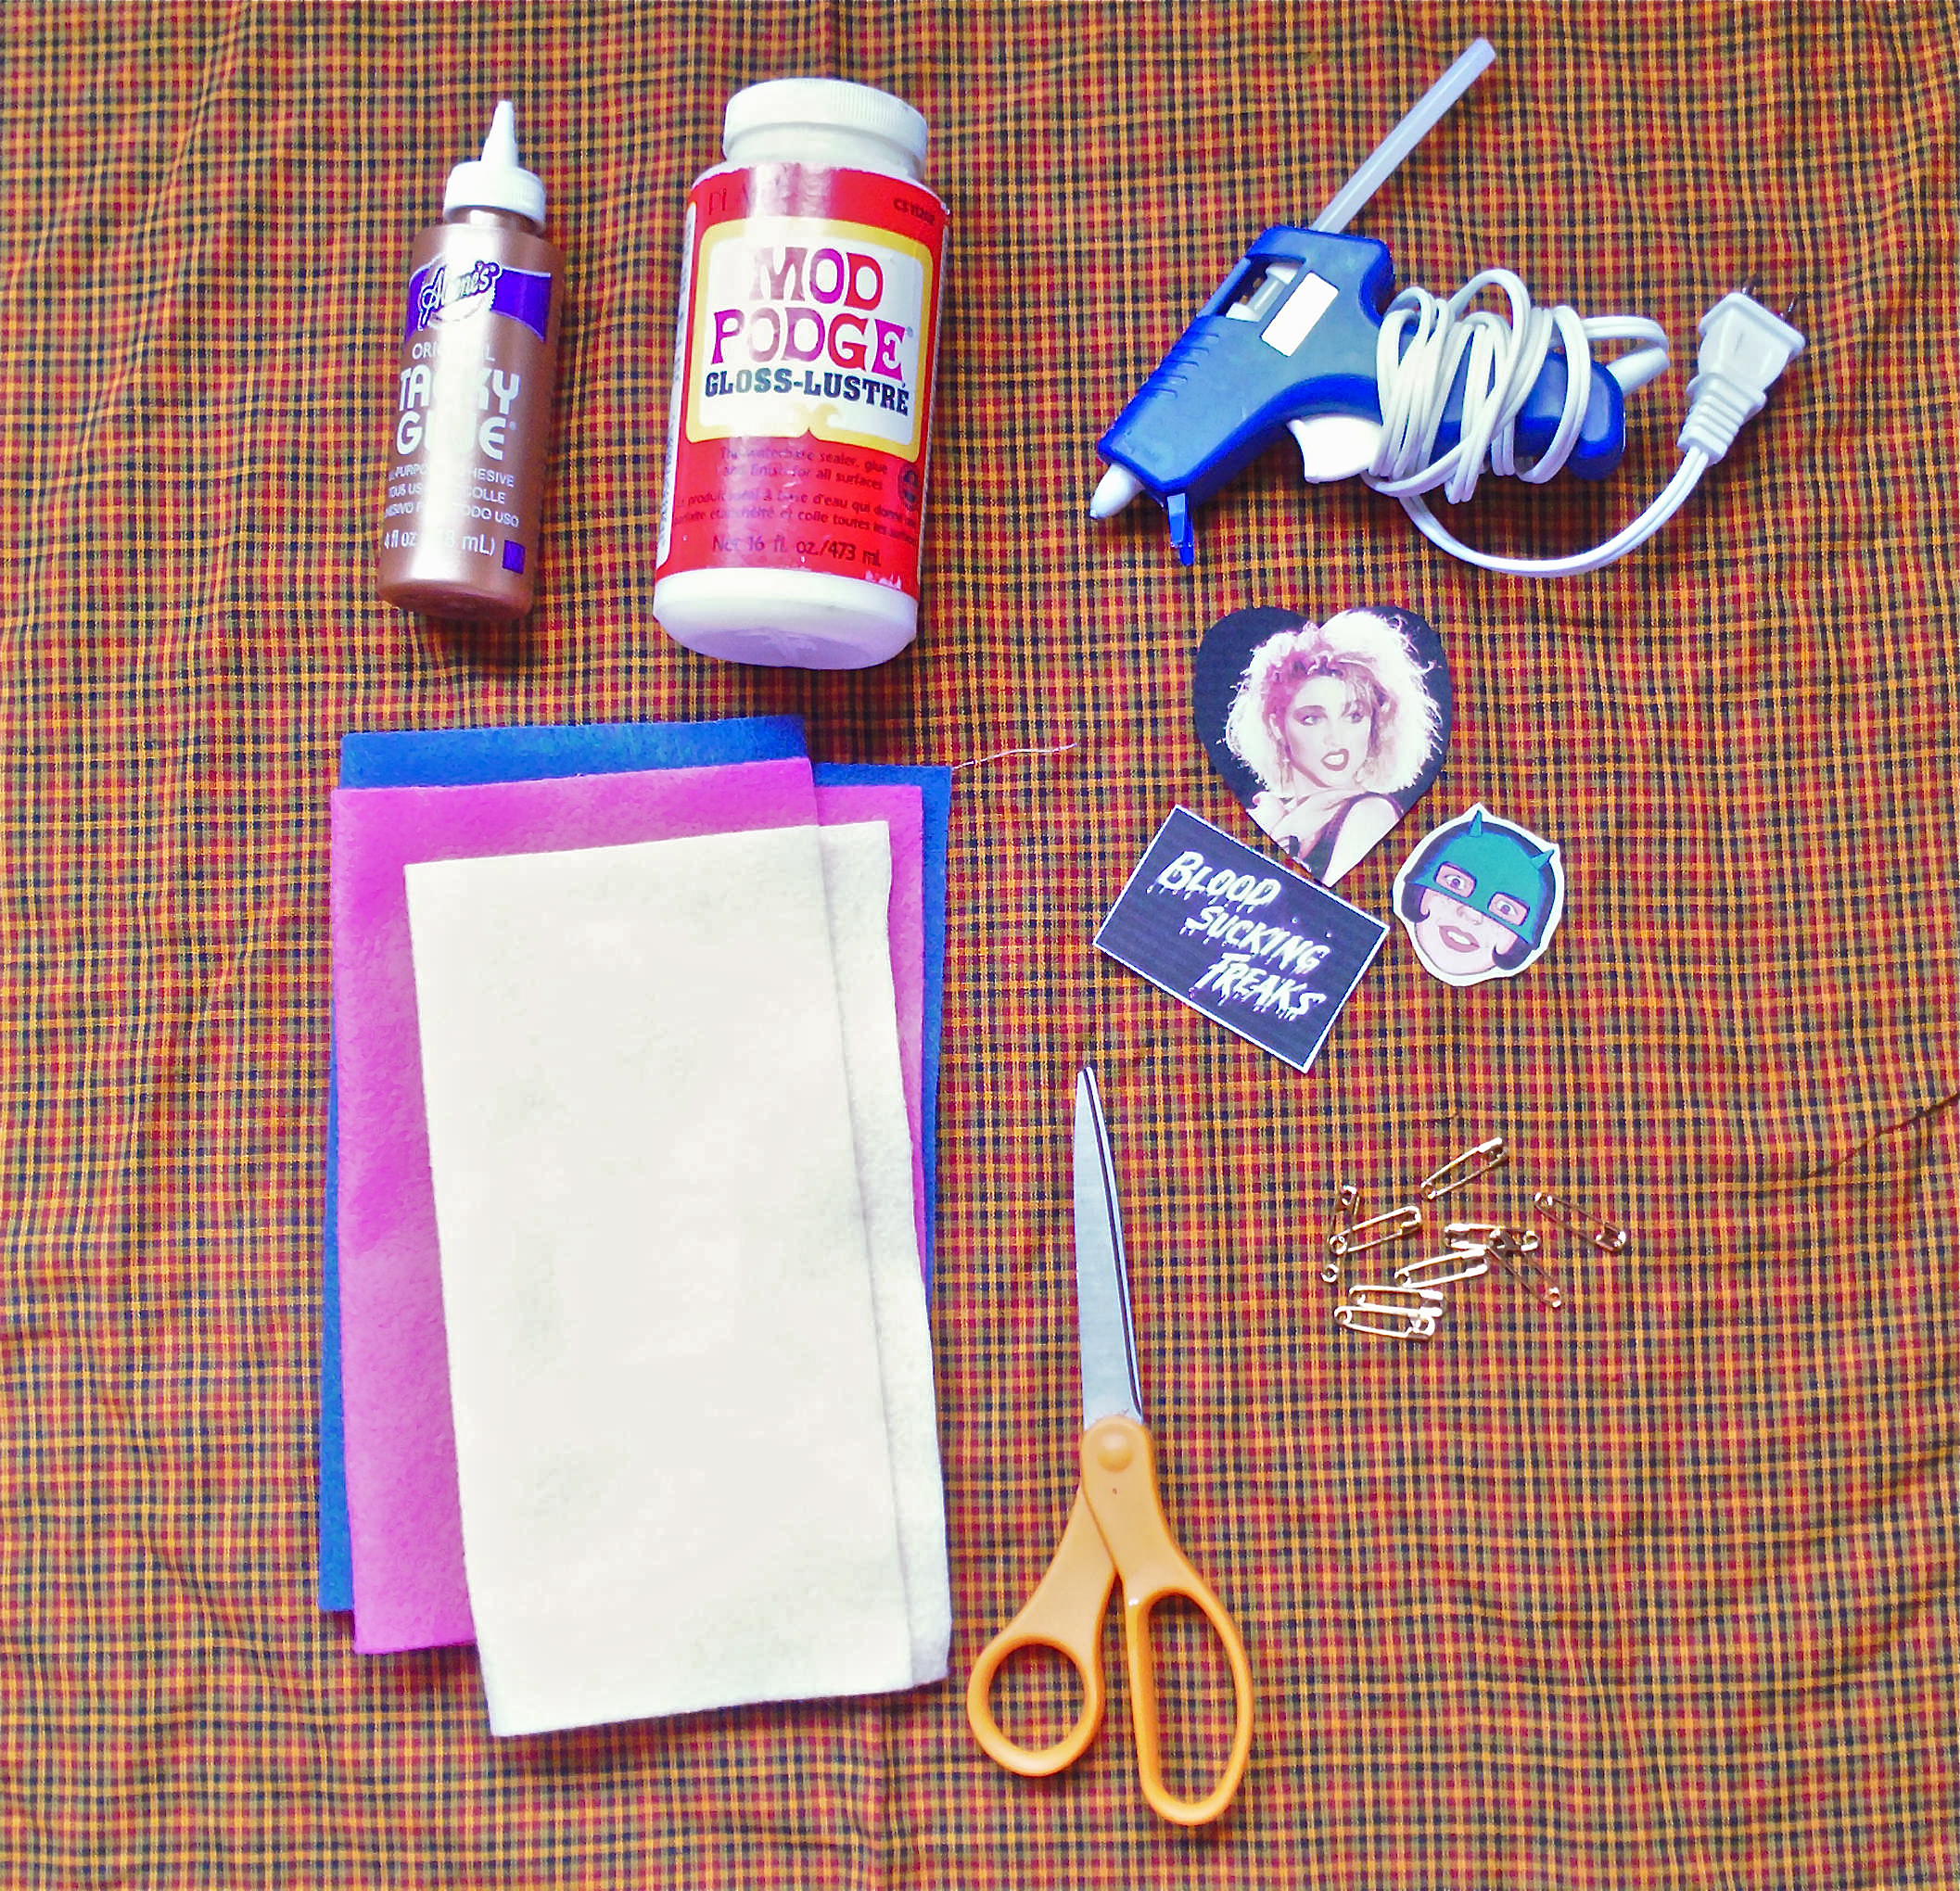
- Cool pictures for your badges
- White felt (or a similarly light color—the photo won’t show up as well on darker felt). This is a great fabric to use for badges because it doesn’t fray at the edges and is pretty sturdy! You can find this at any fabric or craft store (or online, if you like).
- Any type of paper glue
- A paintbrush
- Mod Podge. This comes pretty cheap and is INFINITELY useful. Seriously, if you’re gonna make any crafting investment, buy this stuff. You can find it at craft stores or on le internet.
- Scissors
- Safety pins
- A hot glue gun and hard glue sticks. You can find these at craft stores and online here and here. Another good investment!
How to do it:
Step One:

Figure out the approximate size you want your badge to be, then cut out a piece of felt about that size. This will serve as the backing for your photo.
Step Two:
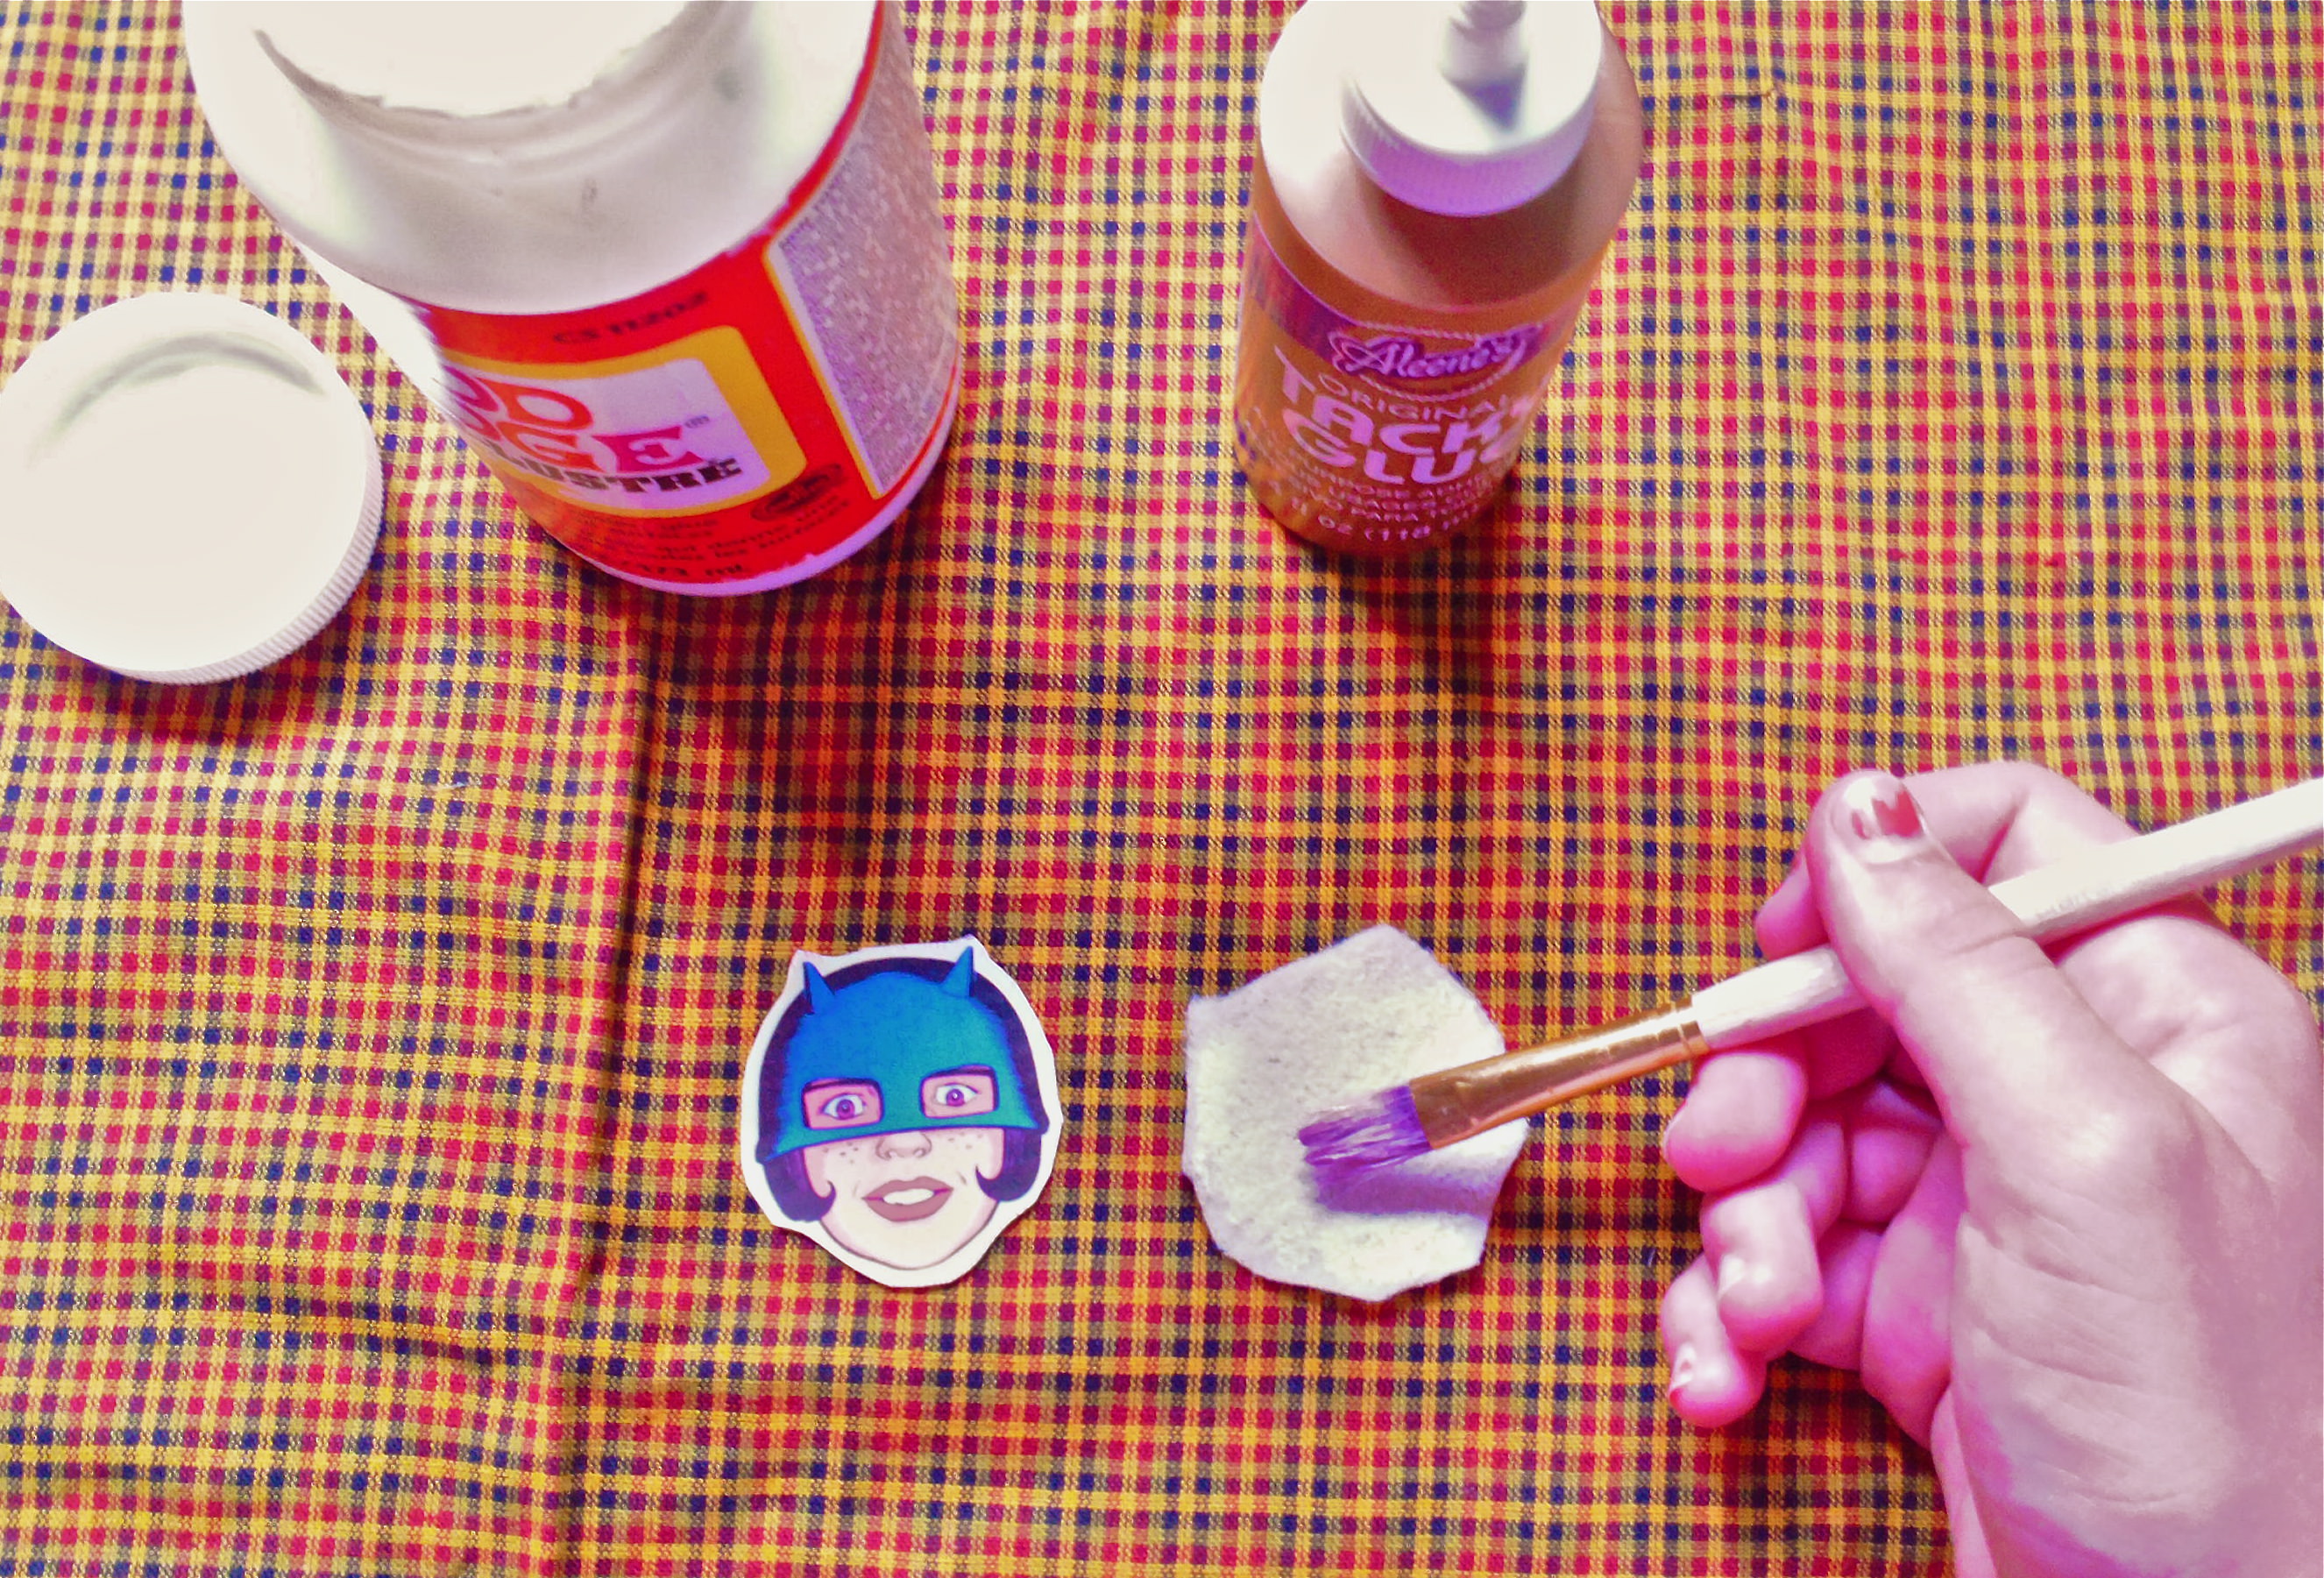
Lay out a thin coat of paper glue on the felt with a paintbrush.
Step Three: Wait for this to dry completely, then put a thin layer of Mod Podge over the first layer of glue. Your hands will be so sticky, but it’s worth it, I promise!
Step Four:
While the Mod Podge is still wet, lay your photo face down on top of it and press it firmly into place.
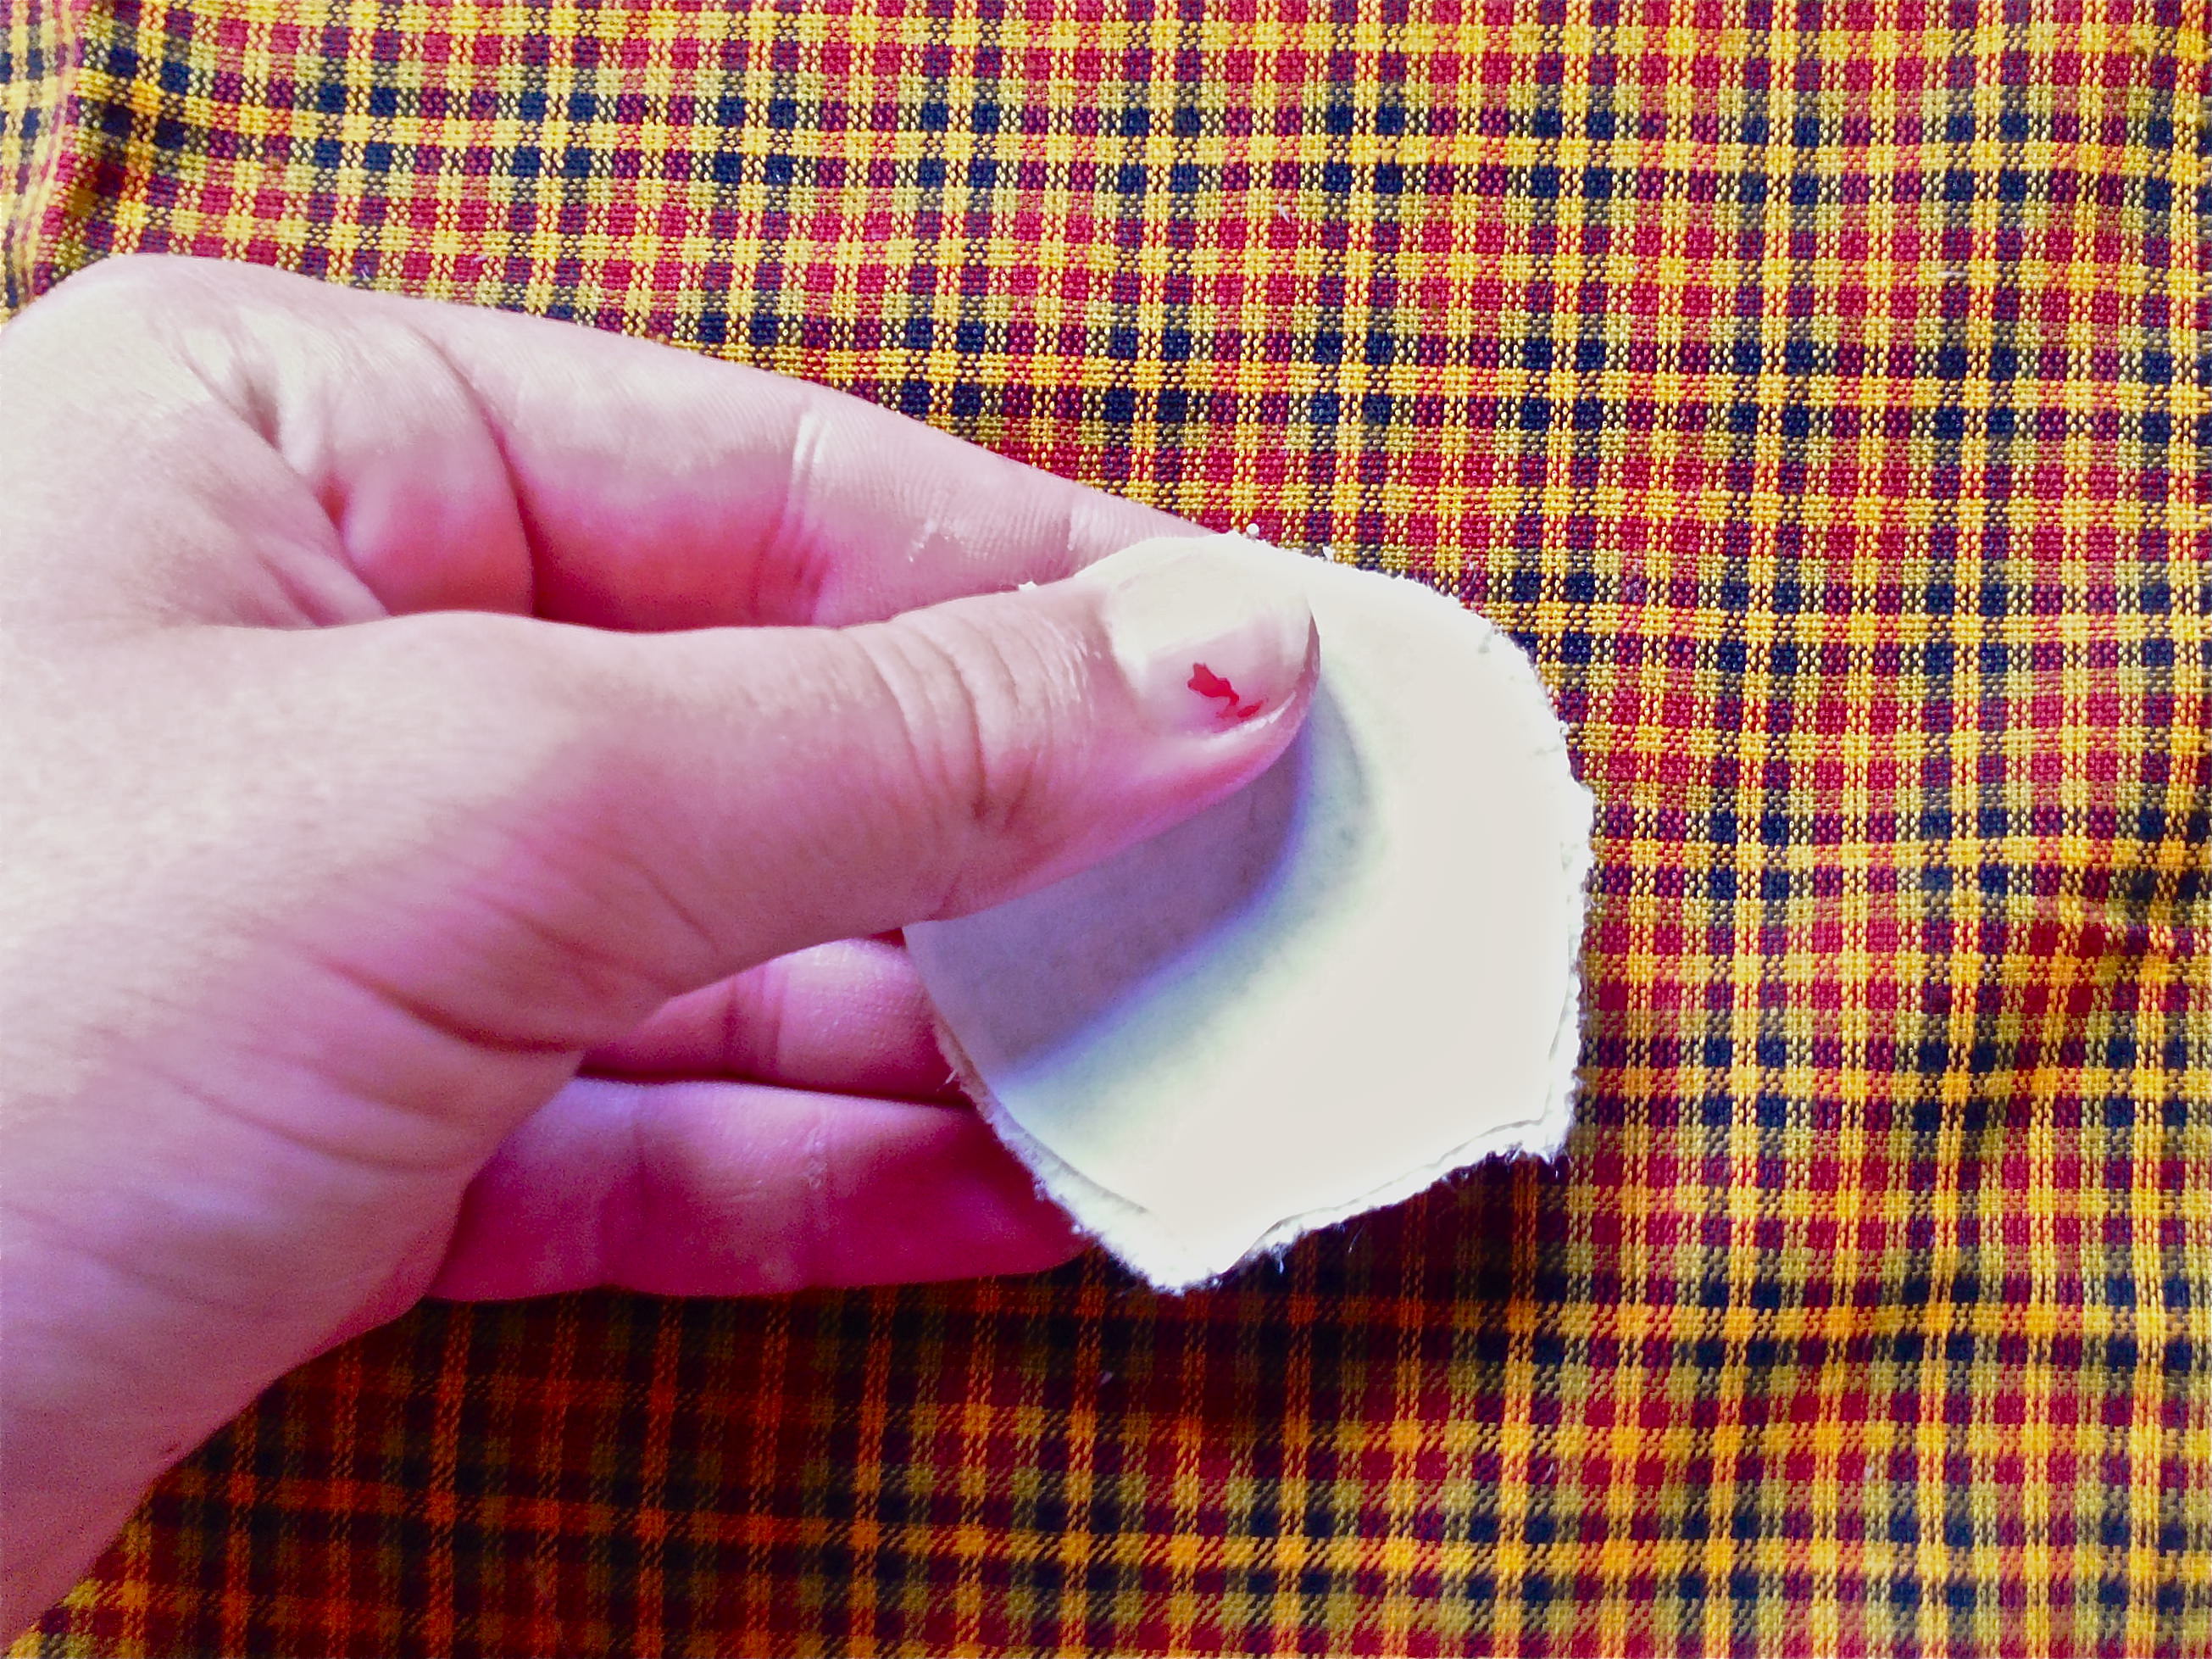
Step Five: Once the Mod Podge is completely dry (which may take a few hours), use a wet cloth to dampen the back of the photo.
Step Six:

Rub your fingers across the wet paper. The paper will sort of clump and roll off, leaving the photo behind on the felt! Just be careful: If you rub too hard, you’ll damage the picture. Keep rubbing away the paper until you’re satisfied that all the paper has come off.
Step Seven:

If you want to jazz up the badge, go right ahead. For this badge, I added a larger piece of felt on the back so it looks more like a cameo pin. You can add ribbon, sequins, rhinestones, paint, or pretty much anything else to your badge to make it look how you want.
Step Eight:

Glue the side of a safety pin that doesn’t open to the back of your badge with a hot-glue gun, holding it in place until the glue hardens…

…and you’re done! You have an adorable pin that you can put on your backpack, jacket, skirt, or WHATEVER, and you didn’t even have to pay shipping and handling! I’m so proud of you (and so is your wallet)! ♦